Self-Hosting
Tutorials and case studies on running personal servers and open-source web services.
Latest stories
9 posts
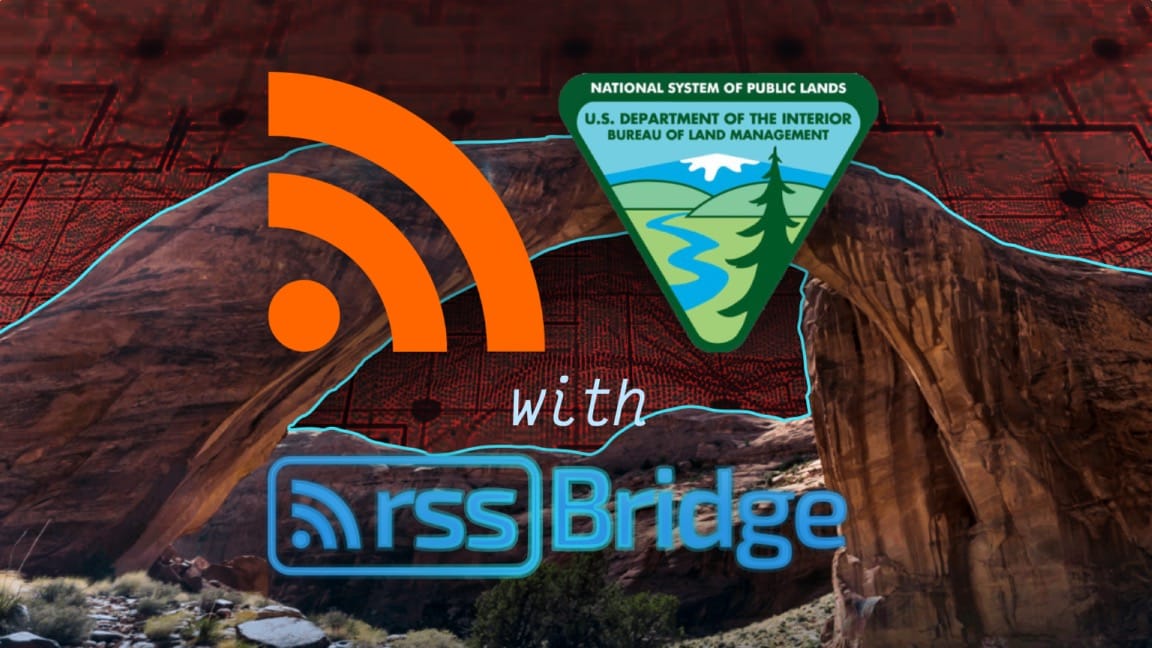
Bridging BLM ePlanning
Another Bridge Built: Tracking Congress
Bridges to Nowhere

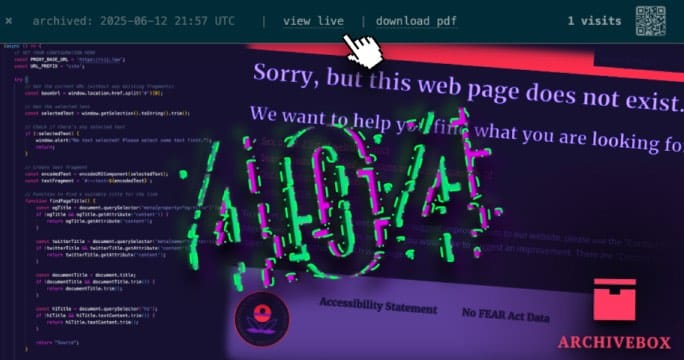
Toward Enduring Web Citations